How To Create Maps With React And Leaflet

- Published on
How To Create Maps With React And Leaflet
Interactive maps can make an ordinary dashboard or product flow feel immediately more concrete. A route planner, service territory view, travel guide, or delivery tracker all benefit from letting users see the data instead of just reading coordinates in a table.
The good news is that this does not require a heavyweight mapping stack. Leaflet gives you a mature mapping engine, and React Leaflet wraps it in a React-friendly API so you can think in components instead of imperative DOM setup.
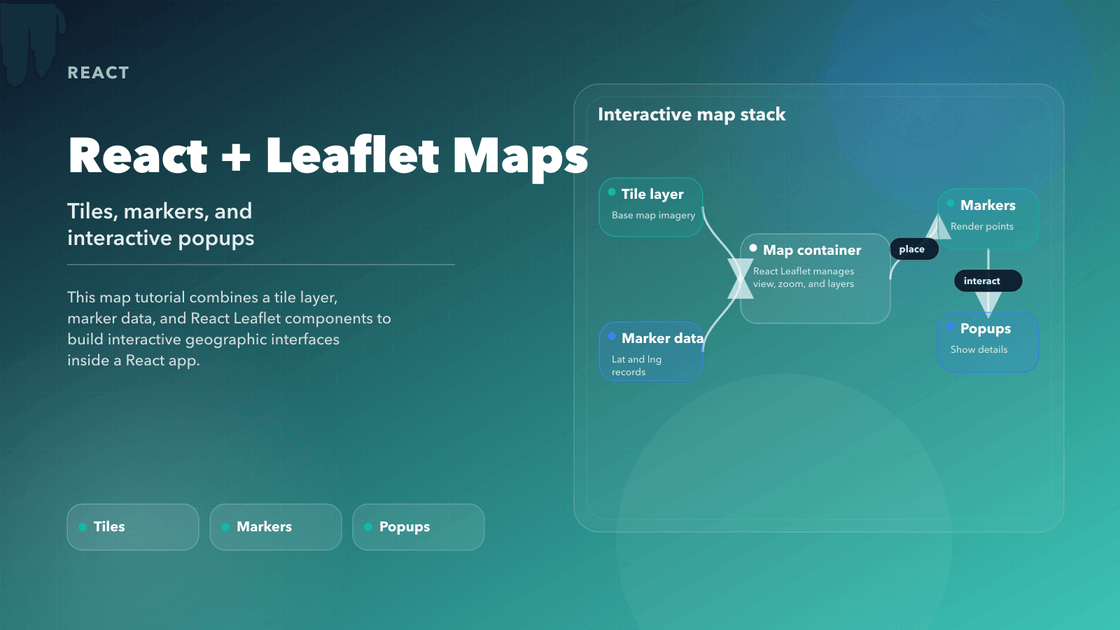
This tutorial builds a simple mental model first: a map needs a container, a tile source, and data-driven overlays like markers or popups. Once those three parts are in place, the rest of the feature set starts to feel much more approachable.

Why Leaflet?
Leaflet is a good fit when you want control without a lot of ceremony. It is lightweight, open-source, and works well with OpenStreetMap tiles out of the box, which makes it a solid choice for many product use cases where you do not want to depend on a heavier commercial mapping SDK from day one.
It also scales nicely in complexity. You can start with one marker and a popup, then grow into clustering, overlays, bounds fitting, or live updates without changing the core model.
Step 1: Set Up the Project
Start with a new React project (or use an existing one):
npx create-react-app react-leaflet-map --template typescript
cd react-leaflet-map
Then install Leaflet and React Leaflet:
npm install leaflet react-leaflet
Leaflet’s CSS must be imported manually in your app:
// index.tsx or App.tsx
import 'leaflet/dist/leaflet.css'
Step 2: Display a Basic Map
Create a new component: components/MapView.tsx
import { MapContainer, TileLayer, Marker, Popup } from 'react-leaflet'
import L from 'leaflet'
const position: [number, number] = [37.7749, -122.4194] // San Francisco
const MapView = () => {
return (
<MapContainer
center={position}
zoom={13}
scrollWheelZoom={true}
style={{ height: '100vh', width: '100%' }}
>
<TileLayer
attribution='© <a href="https://osm.org/copyright">OpenStreetMap</a>'
url="https://{s}.tile.openstreetmap.org/{z}/{x}/{y}.png"
/>
<Marker position={position}>
<Popup>We are here!</Popup>
</Marker>
</MapContainer>
)
}
export default MapView
Then render this component in App.tsx:
import MapView from './components/MapView'

function App() {
  return <MapView />
}

export default App
Step 3: Customizing the Marker
By default, Leaflet’s markers may appear broken in React because image paths don’t resolve automatically. Fix this by setting up a custom marker icon:
// fix for default icon rendering
import L from 'leaflet'
import markerIcon2x from 'leaflet/dist/images/marker-icon-2x.png'
import markerIcon from 'leaflet/dist/images/marker-icon.png'
import markerShadow from 'leaflet/dist/images/marker-shadow.png'

delete (L.Icon.Default.prototype as any)._getIconUrl

L.Icon.Default.mergeOptions({
  iconRetinaUrl: markerIcon2x,
  iconUrl: markerIcon,
  shadowUrl: markerShadow,
})
Add this to a leaflet.config.ts file and import it in your MapView or App.tsx.
Step 4: Rendering Dynamic Markers from Data
You can render multiple markers using an array of location objects:
const locations = [
  { id: 1, name: 'Golden Gate Bridge', coords: [37.8199, -122.4783] },
  { id: 2, name: 'Alcatraz Island', coords: [37.8267, -122.423] },
]

{
  locations.map((loc) => (
    <Marker key={loc.id} position={loc.coords as [number, number]}>
      <Popup>{loc.name}</Popup>
    </Marker>
  ))
}
📍 Use TypeScript tuples for
positionto ensure type safety with Leaflet's[number, number]format.
Step 5: Additional Features
Once the map is rendering, consider adding:
Tile Layers
Swap out default OpenStreetMap tiles:
<TileLayer
  url="https://{s}.tile.openstreetmap.fr/hot/{z}/{x}/{y}.png"
  attribution="Humanitarian OpenStreetMap"
/>
Circle or Polygon Overlays
<Circle center={position} radius={500} pathOptions={{ color: 'red' }} />
Fit map to markers
Use useMap() hook to auto-zoom or pan:
import { useMap } from 'react-leaflet'

function FitToBounds({ bounds }: { bounds: L.LatLngBoundsExpression }) {
  const map = useMap()
  useEffect(() => {
    map.fitBounds(bounds)
  }, [bounds])
  return null
}
Performance Tips
Maps get expensive when the viewport, tiles, and overlay data all update at once, so it helps to be deliberate. Debounce high-frequency marker updates, lazy-load the map when it is not immediately visible, and keep shared location state in one place if multiple components depend on it. If the map becomes marker-heavy, that is usually the moment to look at clustering or server-side filtering instead of pushing every point into the browser.
Final Thoughts
React Leaflet is a strong middle ground between raw mapping APIs and high-level map products. You keep the flexibility of Leaflet while still working in a way that feels natural inside a React app.
Once the basic container, tile layer, and marker flow are working, you have a solid base for richer map features like search, clustering, geocoding, route overlays, or live position updates. That is the real value of the approach: it starts simple, but it does not trap you in a toy implementation.