How To Create A Particle Trail Animation In React

- Published on
How To Create a Particle Trail Animation in React
Adding micro-interactions and animations to your app can make it feel more polished and responsive. One popular visual effect is a particle trail—tiny shapes that follow your mouse or finger across the screen. It’s the kind of effect that adds a delightful user experience without overwhelming your UI.
In this tutorial, we’ll build a particle trail animation from scratch using React and the HTML5 <canvas> API. You’ll learn how to:
- Set up a
Canvasin React - Track mouse movement and animate particles
- Create trails with fading effects
- Organize and optimize rendering with
requestAnimationFrame

What We’re Building
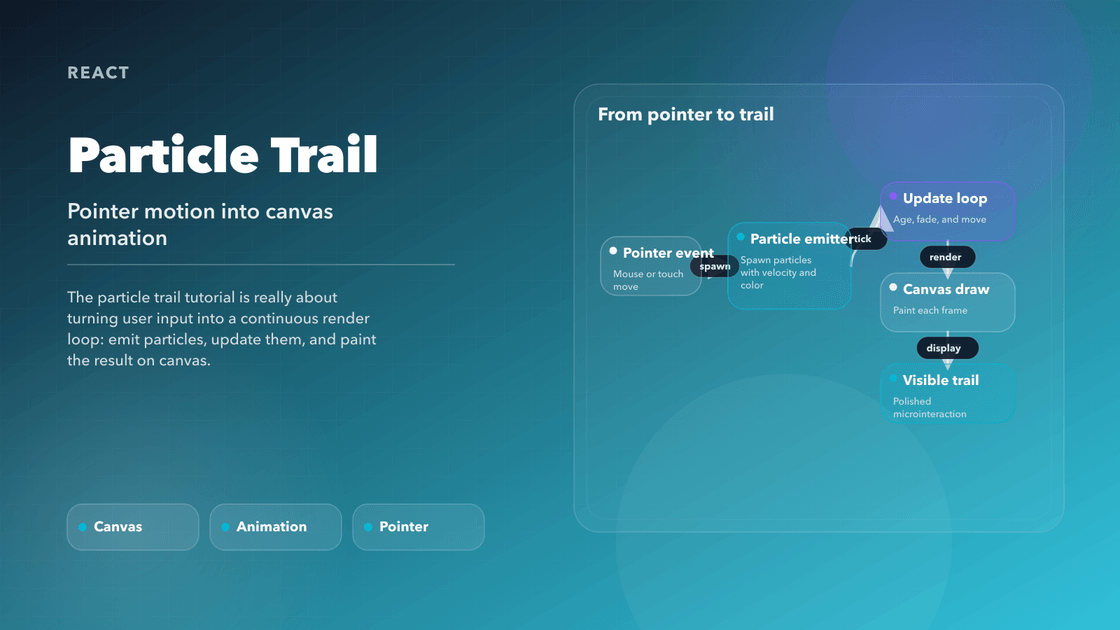
You’ve likely seen this effect in landing pages and creative apps: as the user moves their mouse, particles spawn and fade away along a trail. We’ll use canvas for performance and flexibility.
Step 1: Set Up the React App
Start with a new React project:
npx create-react-app react-particle-trail --template typescript
cd react-particle-trail
We’ll use a single component for the canvas animation.
Step 2: Create the Particle Type
Create a types/Particle.ts file to define the structure of each particle:
export interface Particle {
  x: number
  y: number
  size: number
  speedX: number
  speedY: number
  opacity: number
}
Each particle will have a position, size, movement speed, and an opacity that decreases over time.
Step 3: Create the Canvas Component
Create src/components/ParticleCanvas.tsx:
import { useEffect, useRef, useState } from 'react'
import { Particle } from '../types/Particle'

const ParticleCanvas = () => {
  const canvasRef = useRef<HTMLCanvasElement>(null)
  const [particles, setParticles] = useState<Particle[]>([])

  const resizeCanvas = () => {
    const canvas = canvasRef.current
    if (canvas) {
      canvas.width = window.innerWidth
      canvas.height = window.innerHeight
    }
  }

  useEffect(() => {
    resizeCanvas()
    window.addEventListener('resize', resizeCanvas)
    return () => window.removeEventListener('resize', resizeCanvas)
  }, [])

  const addParticle = (x: number, y: number) => {
    const newParticle: Particle = {
      x,
      y,
      size: Math.random() * 4 + 1,
      speedX: Math.random() * 2 - 1,
      speedY: Math.random() * 2 - 1,
      opacity: 1,
    }
    setParticles((prev) => [...prev, newParticle])
  }

  useEffect(() => {
    const canvas = canvasRef.current
    const ctx = canvas?.getContext('2d')

    if (!ctx || !canvas) return

    const animate = () => {
      ctx.clearRect(0, 0, canvas.width, canvas.height)

      setParticles((prev) =>
        prev
          .map((p) => ({
            ...p,
            x: p.x + p.speedX,
            y: p.y + p.speedY,
            opacity: p.opacity - 0.01,
          }))
          .filter((p) => p.opacity > 0)
      )

      particles.forEach((p) => {
        ctx.fillStyle = `rgba(255, 255, 255, ${p.opacity})`
        ctx.beginPath()
        ctx.arc(p.x, p.y, p.size, 0, Math.PI * 2)
        ctx.fill()
      })

      requestAnimationFrame(animate)
    }

    animate()
  }, [particles])

  useEffect(() => {
    const handleMove = (e: MouseEvent) => {
      addParticle(e.clientX, e.clientY)
    }

    window.addEventListener('mousemove', handleMove)
    return () => window.removeEventListener('mousemove', handleMove)
  }, [])

  return <canvas ref={canvasRef} className="fixed top-0 left-0 z-[-1] h-screen w-screen bg-black" />
}

export default ParticleCanvas
✨ This component tracks the mouse position and spawns fading white particles at each point. The particles move slightly and fade until removed.
Step 4: Use the Component
In App.tsx, import and use the ParticleCanvas:
import ParticleCanvas from './components/ParticleCanvas'

function App() {
  return (
    <div className="relative h-screen w-full text-white">
      <ParticleCanvas />
      <div className="absolute top-1/2 left-1/2 -translate-x-1/2 -translate-y-1/2 transform text-center">
        <h1 className="text-4xl font-bold">React Particle Trail</h1>
        <p className="mt-2 text-lg">Move your mouse to see the magic</p>
      </div>
    </div>
  )
}

export default App
🎉 You now have a fully working particle trail animation behind your UI.
Styling and Performance Tips
- Use
ctx.globalAlphaor fadingrgbafor smoother trails - Limit maximum particle count to avoid memory issues
- Throttle particle creation on slower devices or touch
- You can use canvas blend modes (
ctx.globalCompositeOperation) for glow effects
Possible Extensions
You can take this effect much further:
- 🔥 Change color based on position or speed
- 🌀 Add random acceleration or gravity
- 🚀 Enable touch support for mobile
- 🎨 Control color/size using props or a theme
- ⏱ Use a frame-based loop instead of
setStatefor smoother animations
Final Thoughts
This project is a great way to learn:
- How to use the Canvas API in React
- How to combine
useRef,useEffect, and animation loops - How to manage particle lifecycles
- How to keep heavy DOM logic outside React’s reconciliation loop
Whether you're building a landing page, game UI, or playful dashboard, React + Canvas gives you the tools to create responsive, performant effects that elevate the user experience.